验证码-yolo验证码识别
目录
前言
一、Yolo基础知识
Yolo是什么?
YOLO(You Only Look Once)是一种实时目标检测算法,通过将目标检测任务视为回归问题,在单次前向传播中同时预测图像中所有目标的边界框和类别概率。在滑块验证码识别场景中,YOLO能够快速准确地定位滑块缺口的位置,为自动化验证提供关键坐标信息。
Yolo的核心结构与工作原理
YOLO(You Only Look Once)是一种"只看一次"就能识别图片中所有目标的技术。它就像人的眼睛一样,扫一眼就能知道图片里有什么东西、在哪里。
通俗比喻: 传统方法:像保安用放大镜在监控画面上一个个格子仔细检查(很慢) YOLO方法:像经验丰富的保安,站在监控室看一眼,就能同时指出"左边有人、右边有车"(很快) YOLO的核心优势是速度快,可以实时处理视频流,适合用在需要快速响应的场景,比如自动驾驶、视频监控等。
Yolo的改进模型
二、滑块验证码
验证码滑块是一种常见的网站安全验证方式,用来区分真实用户和机器人程序。当你登录网站或注册账号时,经常会看到一张图片,上面有一个缺口,你需要拖动滑块到缺口位置才能通过验证。
简单理解: 就像拼图游戏一样,背景图片上有个缺口,你需要把滑块拖到正确位置,让图片变得完整。网站通过这种方式判断操作的是真人而不是机器程序。
TIP
训练滑块验证码步骤:
Yolo基础知识
准备图片数据
labelme手动标记数据
转换数据集格式
训练
推理
缺口识别
1、图片展示


2、思路
用YOLO识别验证码滑块的过程就像"找茬游戏":
- 训练模型:先给YOLO看大量带缺口的验证码图片,告诉它缺口在哪里
- 识别缺口:当遇到新的验证码时,YOLO会快速找到缺口的位置
- 计算距离:根据缺口位置,计算出需要拖动的距离
- 自动拖动:程序自动把滑块拖到正确位置
技术实现步骤:
- 收集大量验证码图片作为训练数据
- 用标注工具标记出缺口位置
- 用YOLO模型进行训练 训练完成后,模型就能自动识别新验证码的缺口
3、准备图片数据
准备了100张滑块图片
4、labelme手动标记数据
1. 安装labelme
cmd
pip install labelme2. 开始标注数据
在控制台按下 labelme
基本使用: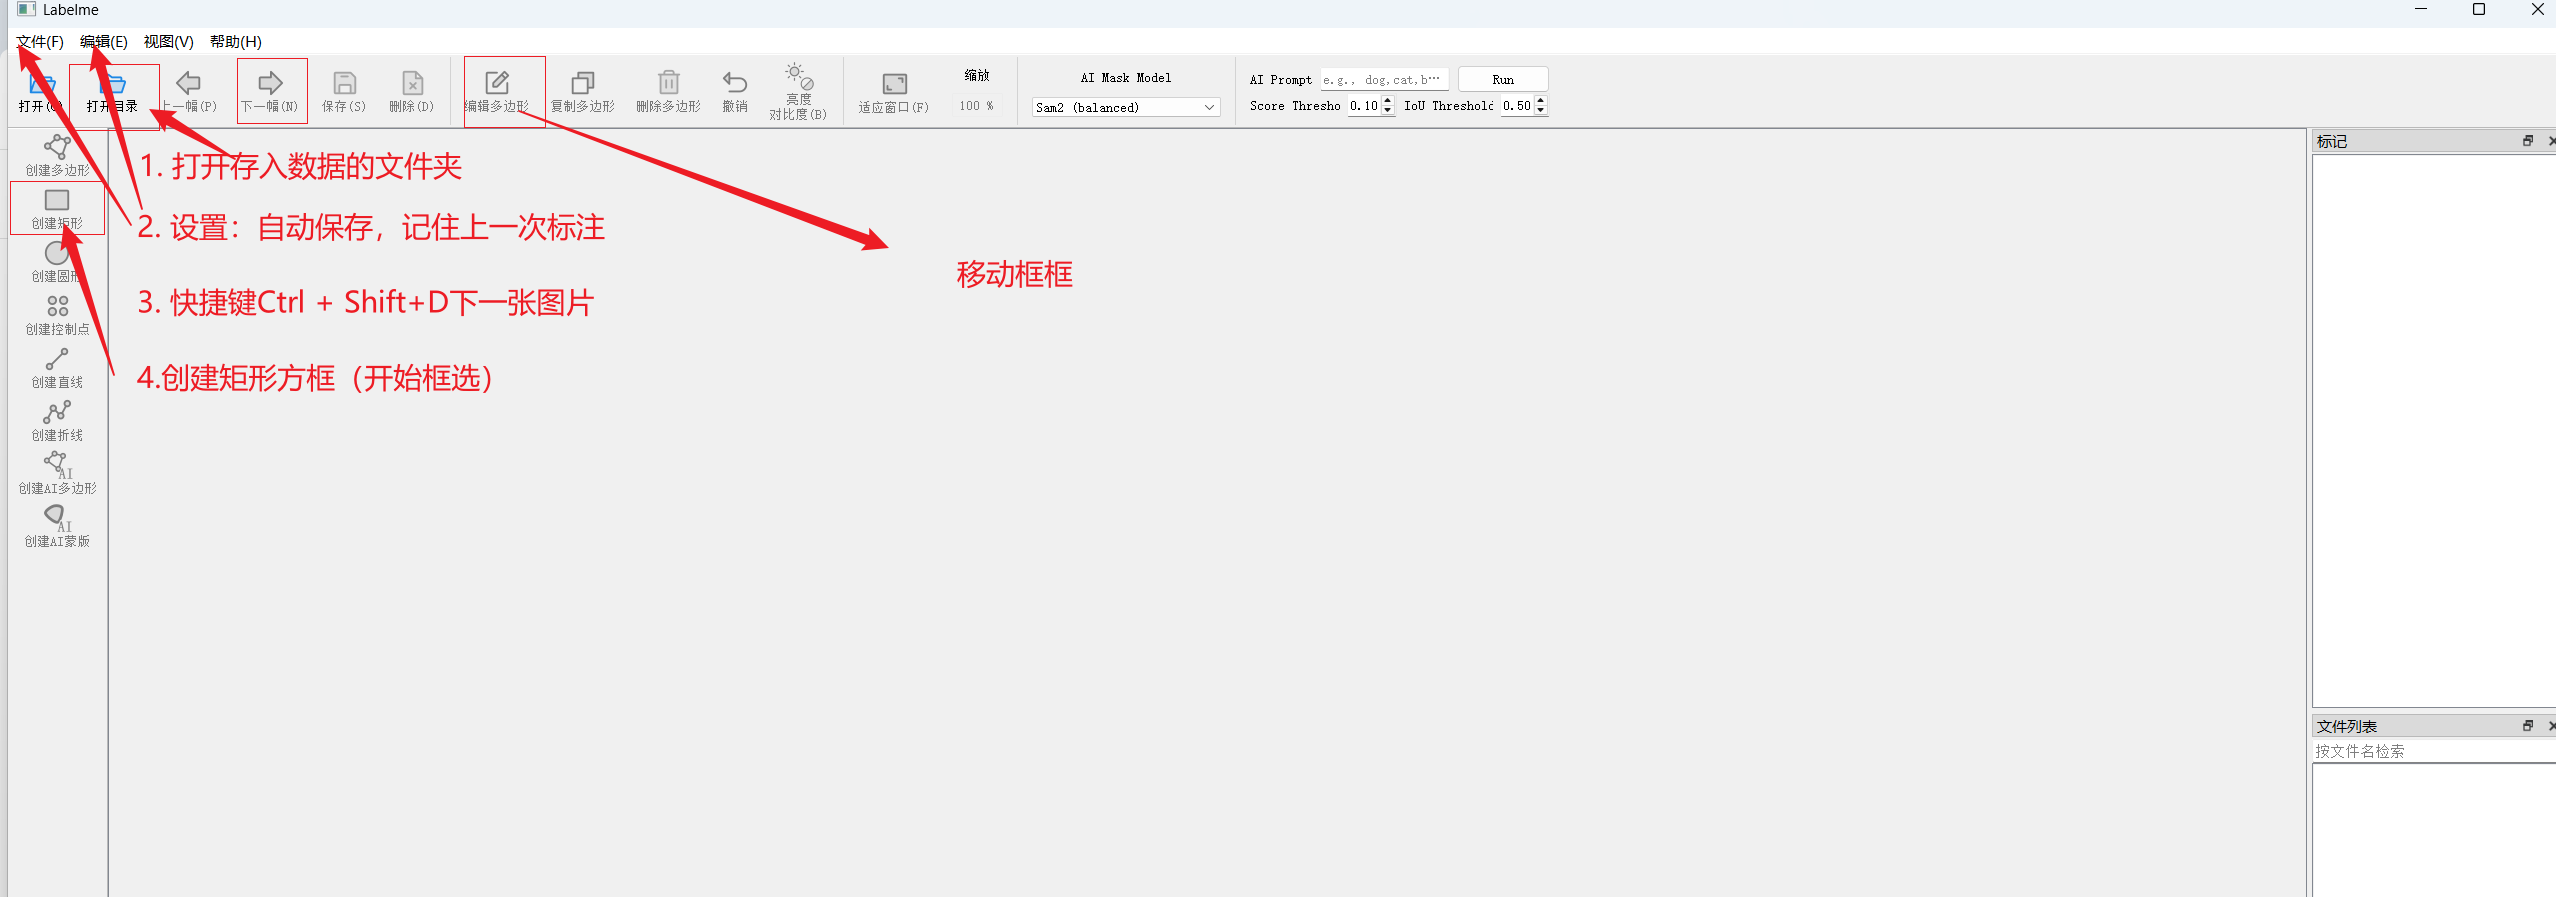
标注效果: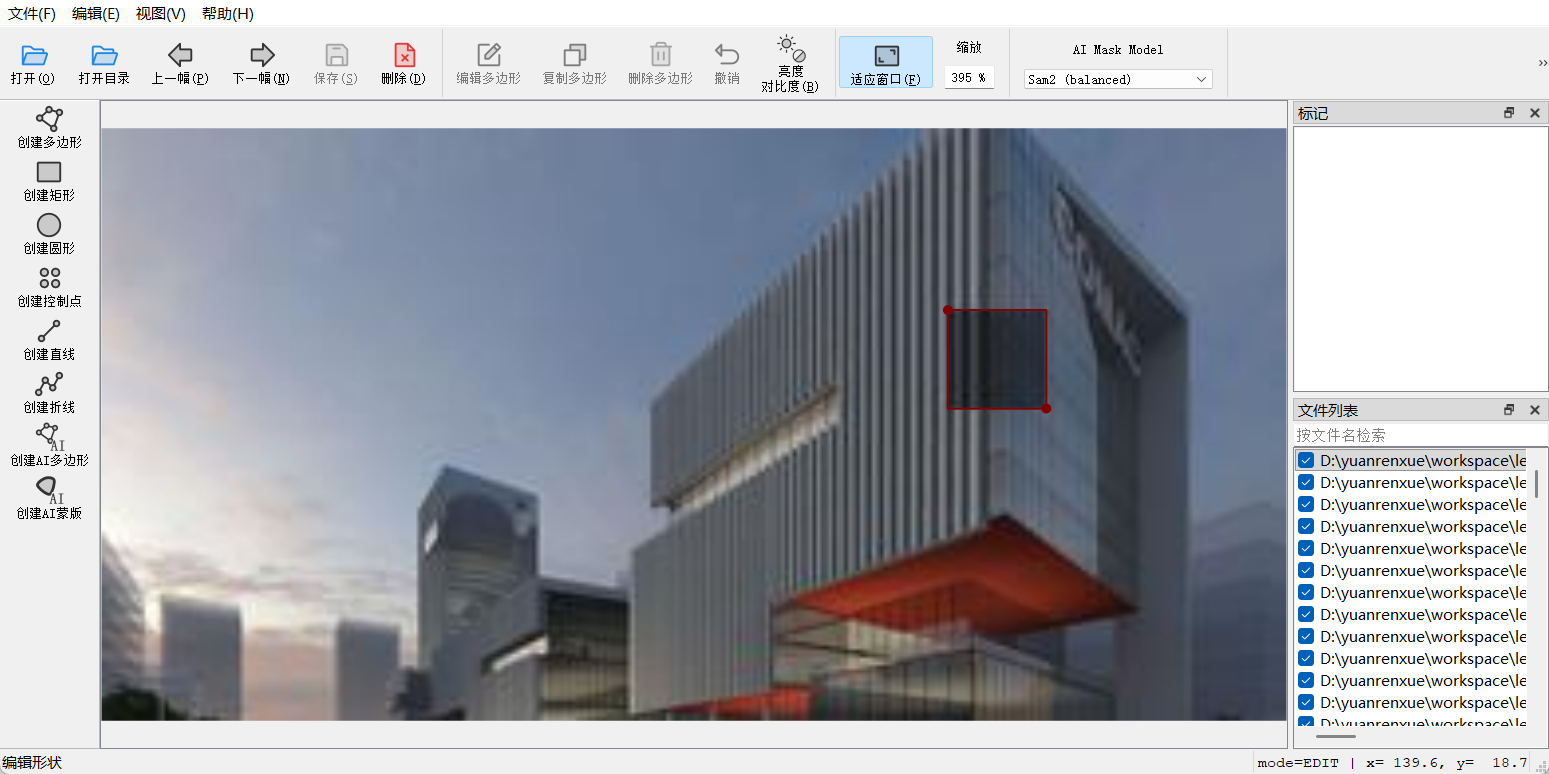
注意:
- 全部标注结束后直接退出
- 保存的格式yolo不能直接使用
5、转换数据集格式
1.安装
cmd
pip install labelme2yolo2.转换命令
cmd
labelme2yolo --json_dir "D:\yuanrenxue\workspace\lesson\section_nine\lesson\Slide&Click\Sc1\utils\images" --val_size 0.15 --test_size 0.15结果
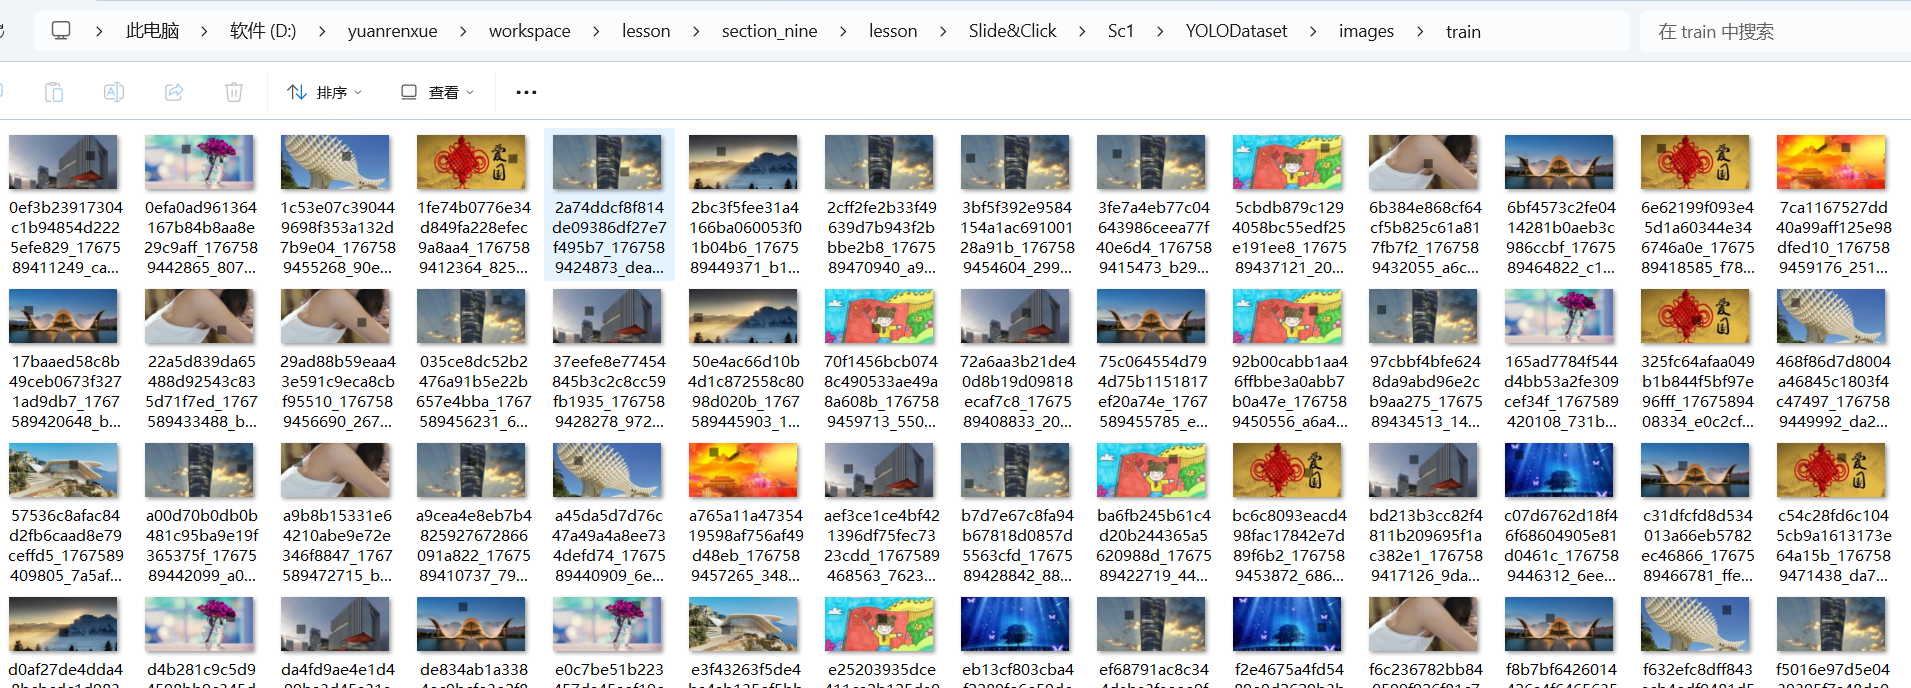
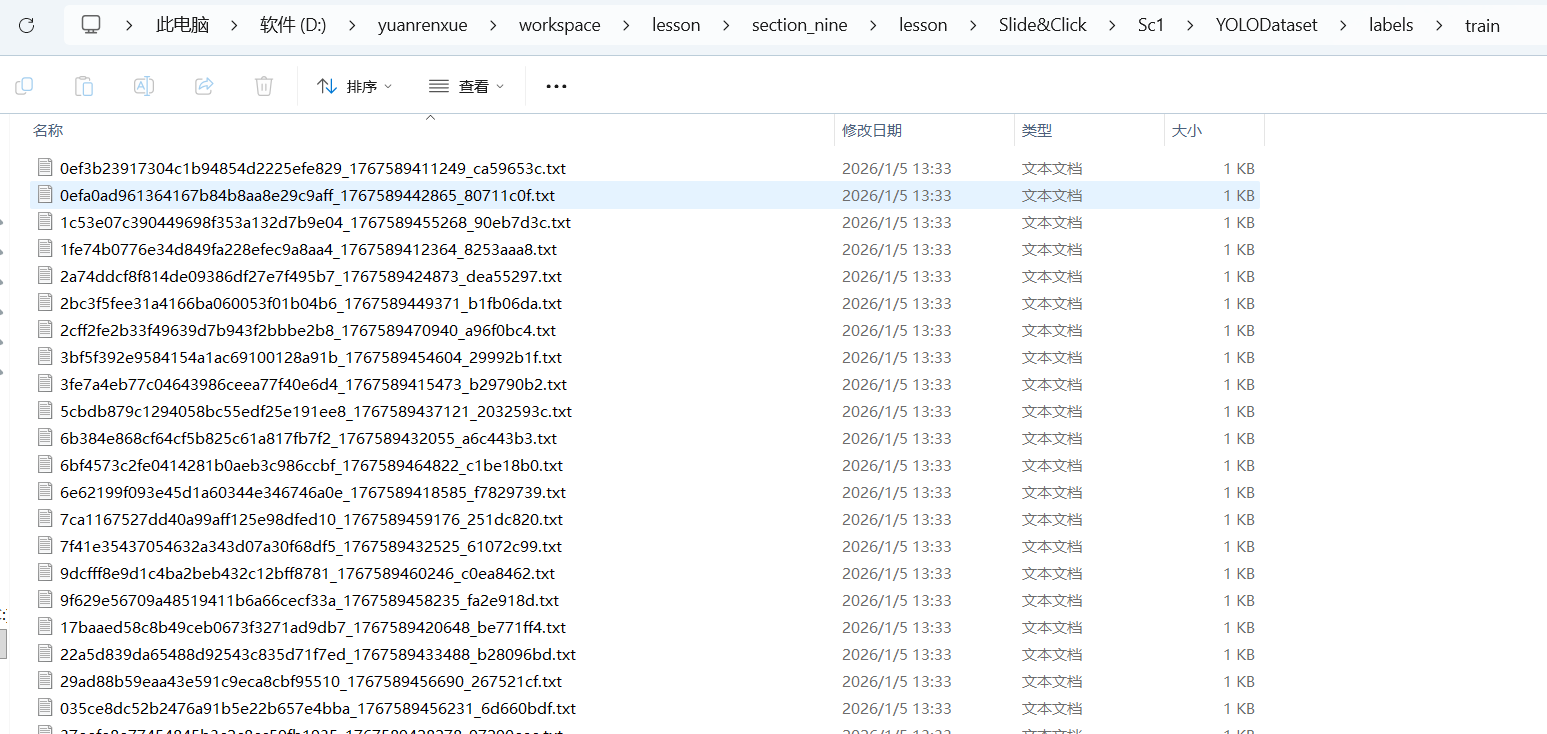
会自动生成一个文件夹目录 YOLODataset
6、训练
完整代码
py
from ultralytics import YOLO

# yolov8s.pt是yolov8提供的目标检测预训练模型
# model = YOLO("yolov8s.pt")

# results = model.train(data="./dataset.yaml", epochs=100, imgsz=[300, 150])

# from ultralytics import YOLO
#
# # 加载模型
# model = YOLO('yolov8n.pt')  # 使用nano版本,更轻量
#
# # 开始训练 verbose=True,  # 开启详细日志输出
# results = model.train(
#     data='./dataset.yaml',
#     epochs=100,
#     imgsz=[300, 150],
#     batch=16,
#     device='cuda',  # 使用CPU训练,如有GPU可改为0或'cuda'
# )


from ultralytics import YOLO
import multiprocessing


def main():
    # 加载模型
    model = YOLO('yolov8n.pt')

    # 训练模型
    results = model.train(
        data='./dataset.yaml',
        epochs=100,
        imgsz=[300, 150],
        batch=16,
        workers=8,  # 可以尝试减少workers数量
        device='cuda',  # 使用CPU训练,如有GPU可改为0或'cuda'
        verbose=True,
    )


if __name__ == '__main__':
    # 可选:设置启动方法(Windows上通常不需要)
    # multiprocessing.set_start_method('spawn', force=True)

    # 调用主函数
    main()
7、推理
py
 # 使用YOLO模型进行预测
results = self.model(image_path, conf=conf_threshold, verbose=False)

if len(results) == 0 or len(results[0].boxes) == 0:
    return {
        "success": False,
        "error": "未检测到缺口",
        "image_width": img_width,
        "gap_distance": None,
        "confidence": 0
    }

# 获取检测结果
boxes = results[0].boxes
8、缺口识别
py
import cv2
import os
from ultralytics import YOLO
import numpy as np


class SlideCaptchaDetector:
    """
    滑块验证码缺口距离检测器
    封装成可直接调用的类方法,无需命令行参数
    """

    def __init__(self, model_path='runs/detect/train/weights/best.pt'):
        """
        初始化检测器
        Args:
            model_path: 训练好的YOLOv8模型路径,默认为最佳权重文件
        """
        self.model = YOLO(model_path)
        print(f"模型加载成功: {model_path}")

    def detect_gap_distance(self, image_path, conf_threshold=0.5, save_result=False, output_dir=None):
        """
        检测单张滑块验证码图片的缺口距离
        Args:
            image_path: 验证码图片路径
            conf_threshold: 置信度阈值,默认0.5
            save_result: 是否保存标注结果图片,默认False
            output_dir: 结果保存目录,默认为当前目录下的results文件夹
        Returns:
            dict: 包含检测结果的字典
        """
        # 检查图片是否存在
        if not os.path.exists(image_path):
            return {
                "success": False,
                "error": f"图片文件不存在: {image_path}",
                "gap_distance": None
            }

        # 读取原始图像获取尺寸信息
        original_img = cv2.imread(image_path)
        if original_img is None:
            return {
                "success": False,
                "error": f"无法读取图像文件: {image_path}",
                "gap_distance": None
            }

        img_height, img_width = original_img.shape[:2]

        try:
            # 使用YOLO模型进行预测
            results = self.model(image_path, conf=conf_threshold, verbose=False)

            if len(results) == 0 or len(results[0].boxes) == 0:
                return {
                    "success": False,
                    "error": "未检测到缺口",
                    "image_width": img_width,
                    "gap_distance": None,
                    "confidence": 0
                }

            # 获取检测结果
            boxes = results[0].boxes
            best_gap = None
            max_conf = 0

            # 选择置信度最高的检测框作为缺口位置
            for box in boxes:
                conf = box.conf.item()
                if conf > max_conf:
                    max_conf = conf
                    x1, y1, x2, y2 = box.xyxy[0].tolist()

                    # 计算缺口相关信息
                    gap_center_x = int((x1 + x2) / 2)
                    gap_center_y = int((y1 + y2) / 2)
                    gap_width = int(x2 - x1)
                    gap_height = int(y2 - y1)

                    best_gap = {
                        "bbox": [int(x1), int(y1), int(x2), int(y2)],
                        "center": (gap_center_x, gap_center_y),
                        "width": gap_width,
                        "height": gap_height,
                        "confidence": conf
                    }

            if best_gap is None:
                return {
                    "success": False,
                    "error": "未找到有效缺口",
                    "image_width": img_width,
                    "gap_distance": None,
                    "confidence": 0
                }

            # 计算缺口距离(从图片左侧到缺口中心)
            gap_distance = best_gap["center"][0]

            # 绘制检测结果
            result_image = results[0].plot()

            # 构建返回结果
            result_info = {
                "success": True,
                "gap_distance": gap_distance,
                "image_width": img_width,
                "image_height": img_height,
                "gap_center": best_gap["center"],
                "gap_width": best_gap["width"],
                "gap_height": best_gap["height"],
                "confidence": round(best_gap["confidence"], 4),
                "bbox": best_gap["bbox"],
                "image_path": image_path
            }

            # 保存结果图片
            if save_result:
                if output_dir is None:
                    output_dir = "./results"

                os.makedirs(output_dir, exist_ok=True)
                filename = os.path.basename(image_path)
                name_without_ext = os.path.splitext(filename)[0]
                output_path = os.path.join(output_dir, f"result_{name_without_ext}.jpg")

                # 在图片上添加距离信息
                cv2.putText(result_image, f"Distance: {gap_distance}px",
                            (10, 30), cv2.FONT_HERSHEY_SIMPLEX, 1, (0, 255, 0), 2)
                cv2.putText(result_image, f"Confidence: {result_info['confidence']}",
                            (10, 70), cv2.FONT_HERSHEY_SIMPLEX, 0.7, (0, 255, 0), 2)

                cv2.imwrite(output_path, result_image)
                result_info["result_image_path"] = output_path

            return result_info

        except Exception as e:
            return {
                "success": False,
                "error": f"检测过程中发生错误: {str(e)}",
                "image_width": img_width,
                "gap_distance": None,
                "confidence": 0
            }

    def batch_detect(self, image_dir, conf_threshold=0.5, output_dir=None):
        """
        批量检测目录中的多张滑块验证码图片
        Args:
            image_dir: 包含验证码图片的目录路径
            conf_threshold: 置信度阈值,默认0.5
            output_dir: 结果保存目录
        Returns:
            list: 所有图片的检测结果列表
        """
        if not os.path.exists(image_dir):
            return {"error": f"目录不存在: {image_dir}"}

        image_files = [f for f in os.listdir(image_dir)
                       if f.lower().endswith(('.png', '.jpg', '.jpeg', '.bmp'))]

        if len(image_files) == 0:
            return {"error": f"目录中没有找到图片文件: {image_dir}"}

        all_results = []

        print(f"开始批量检测,共 {len(image_files)} 张图片...")

        for i, image_file in enumerate(image_files):
            image_path = os.path.join(image_dir, image_file)
            print(f"处理进度: {i + 1}/{len(image_files)} - {image_file}")

            result = self.detect_gap_distance(
                image_path, conf_threshold,
                save_result=True, output_dir=output_dir
            )

            result["filename"] = image_file
            all_results.append(result)

        # 统计结果
        successful = [r for r in all_results if r.get("success")]
        failed = [r for r in all_results if not r.get("success")]

        print(f"\n批量检测完成:")
        print(f"成功: {len(successful)} 张")
        print(f"失败: {len(failed)} 张")

        if successful:
            distances = [r['gap_distance'] for r in successful]
            avg_distance = sum(distances) / len(distances)
            print(f"平均缺口距离: {avg_distance:.2f}px")
            print(f"距离范围: {min(distances)}px - {max(distances)}px")

        return all_results


# # 使用示例
# if __name__ == '__main__':
#     # 创建检测器实例
#     detector = SlideCaptchaDetector('runs/detect/train9/weights/best.pt')
#
#     # 示例1: 单张图片检测
#     print("=== 单张图片检测示例 ===")
#     result = detector.detect_gap_distance(
#         image_path='./03a53520a99446d0ab512c125f36e5c0_1767593352887.png',
#         conf_threshold=0.6,
#         save_result=True,
#         output_dir='./detection_results'
#     )
#
#     if result['success']:
#         print(f"检测成功!")
#         print(f"缺口距离: {result['gap_distance']}px")
#         print(f"置信度: {result['confidence']}")
#         print(f"缺口位置: {result['gap_center']}")
#         if 'result_image_path' in result:
#             print(f"结果图片: {result['result_image_path']}")
#     else:
#         print(f"检测失败: {result['error']}")

    # # 示例2: 批量检测
    # print("\n=== 批量检测示例 ===")
    # batch_results = detector.batch_detect(
    #     image_dir='path/to/your/captcha/folder',
    #     conf_threshold=0.5,
    #     output_dir='./batch_results'
    # )